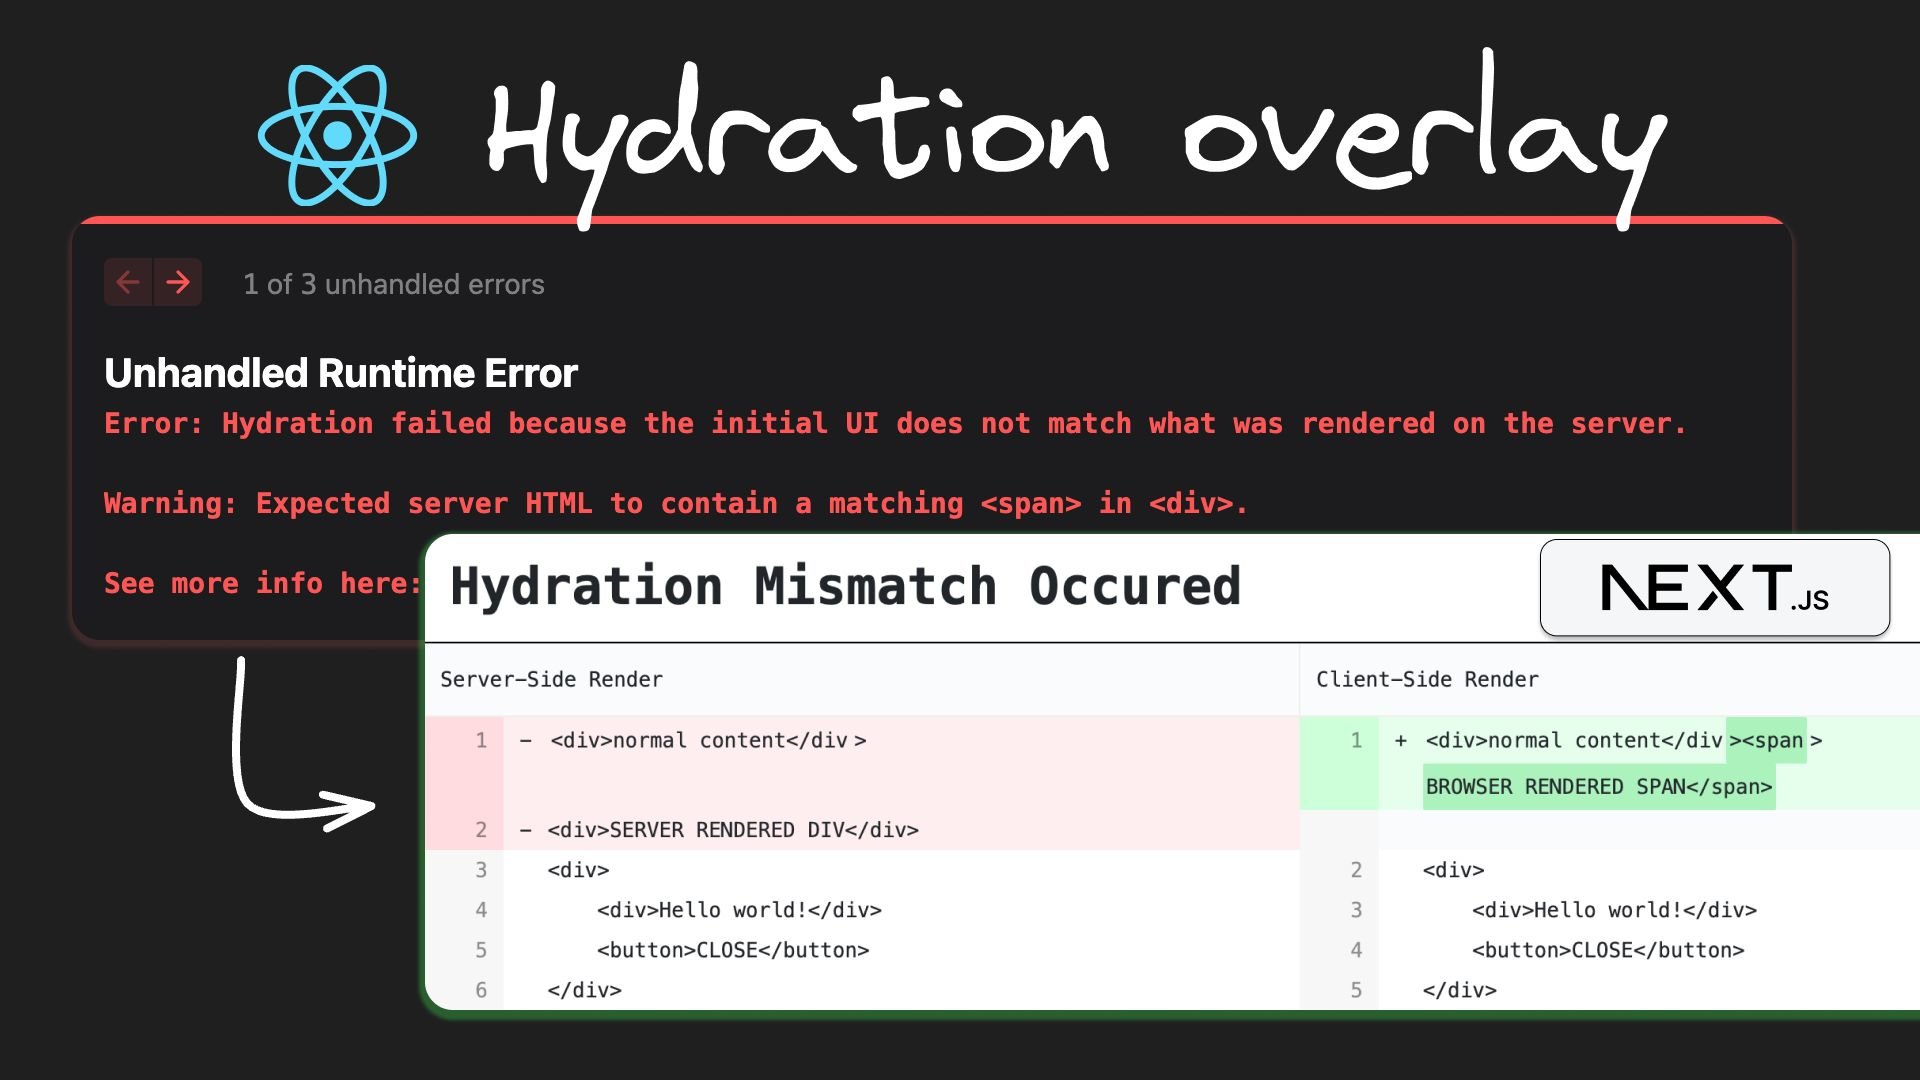
TL;DR: go to https://github.com/BuilderIO/hydration-overlay to install the overlay and debug your hydration mismatch.
Last week, I spent hours debugging a tricky hydration mismatch. I had to:
- copy the HTML sent over the wire,
console.logthe HTML generated on the client and copy it,- paste both of them into an online diff checker tool.
I got tired of doing this, so I automated it. Hence @builder.io/react-hydration-overlay!
The solution I landed on is fairly rudimentary (like all the best solutions!). The package works in 2 parts:
- First, you use a plugin to inject
hydration-overlay-initializer.jsinto your app's entry point. This script reads the HTML from the server and stores it, and then listens for hydration errors and stores the page's HTML that exists then. - Second, you wrap your app's root in
HydrationOverlay, a component that will read the data from the previous step and display it in an overlay.
Currently, only Next.js via a Webpack Plugin. But PRs are more than welcome: what you need is to inject a script into the bundle's entry point, which is fairly straightforward task.
Install the dependnecy with npm (or pnpm, yarn, etc):
npm install @builder.io/react-hydration-overlayAdd the overlay component to the root of your app:
import { HydrationOverlay } from "@builder.io/react-hydration-overlay";

const App = () => {
  return (
    <HydrationOverlay>
      <YourApp />
    </HydrationOverlay>
  );
};
Add the plugin to your next.config.js
const {
  withHydrationOverlay,
} = require("@builder.io/react-hydration-overlay/next");

/** @type {import('next').NextConfig} */
const nextConfig = {
  /** your config here */
};

module.exports = withHydrationOverlay({
  /**
   * Optional: `appRootSelector` is the selector for the root element of your app. By default, it is `#__next` which works
   * for Next.js apps with pages directory. If you are using the app directory, you should change this to `main`.
   */
  appRootSelector: "main",
})(nextConfig);
And that's all. Read more in the project readme
As anyone who's had a React hydration mismatch knows, the errors are rather cryptic. In a large page, it becomes extremely difficult to find the mismatched element. While this tool isn't perfect, it automates away a cumbersome manual process that many currently resort to to pin down the exact mismatch.
NOTE: There is a WIP PR to fix this in React, so hopefully there will be a native solution to this problem soon. This plugin will remian handy for all older React versions.
When hydration fails, React will re-render your app on the client-side. It turns out that React renders things slightly differently in SSR VS CSR. The most visible one I've seen is style HTML attributes: whitespace and semi-colons are added in the CSR, and in some cases, the attributes are re-ordered and shorthand attributes are expanded (the most extreme case is all: unset which can seemingly turn into hundreds of properties!).
So keep in mind that there will be some false positives when using this plugin. I still firmly believe that it is a net positive to have this tool in your arsenal when debugging hairy issues!
That's it! Go fix your hydration bugs!


